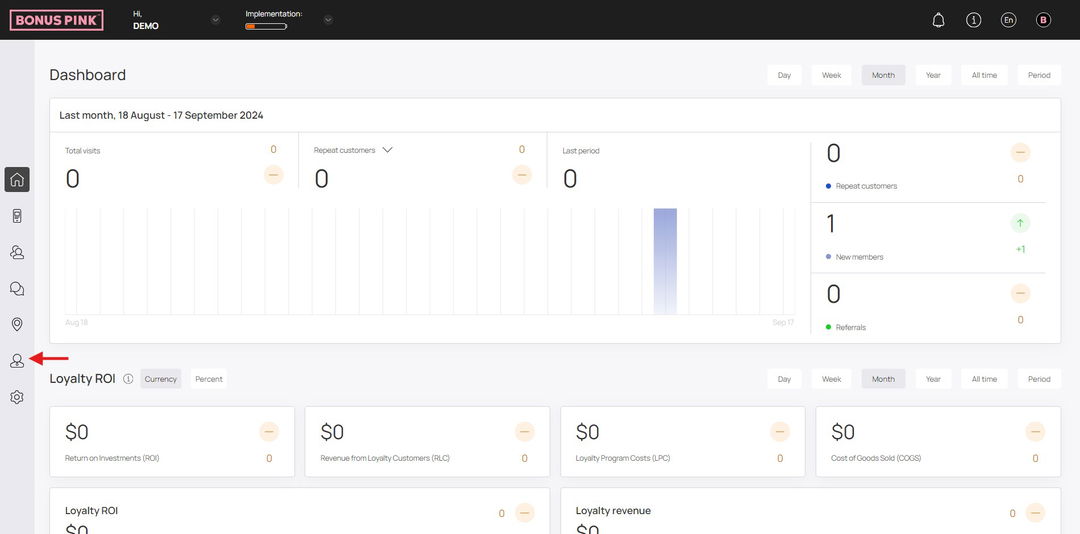
1. Upon successful login, navigate to the left-hand menu.
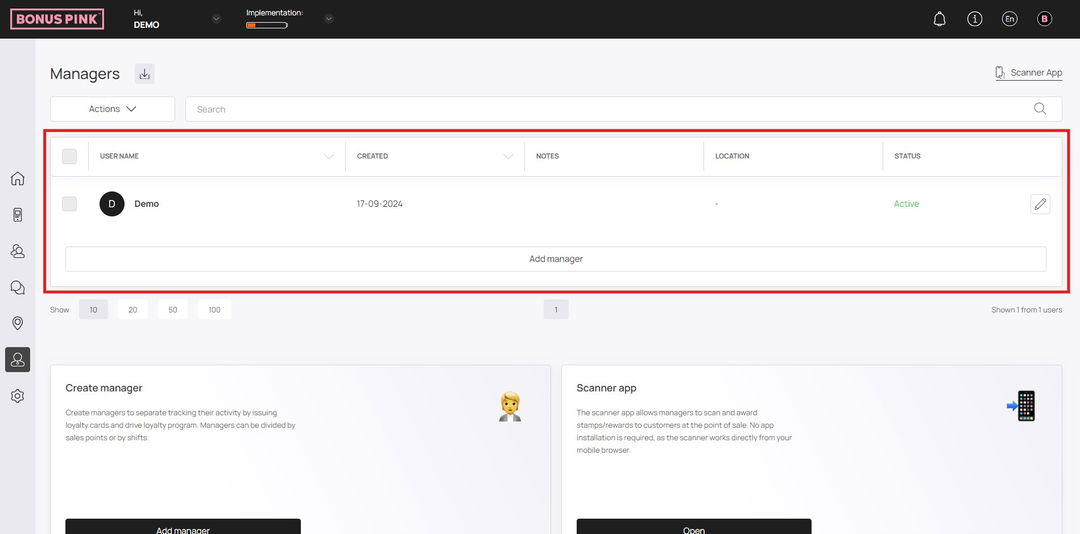
2. From the list of modules displayed, click the icon. Doing so takes you to the Managers screen.
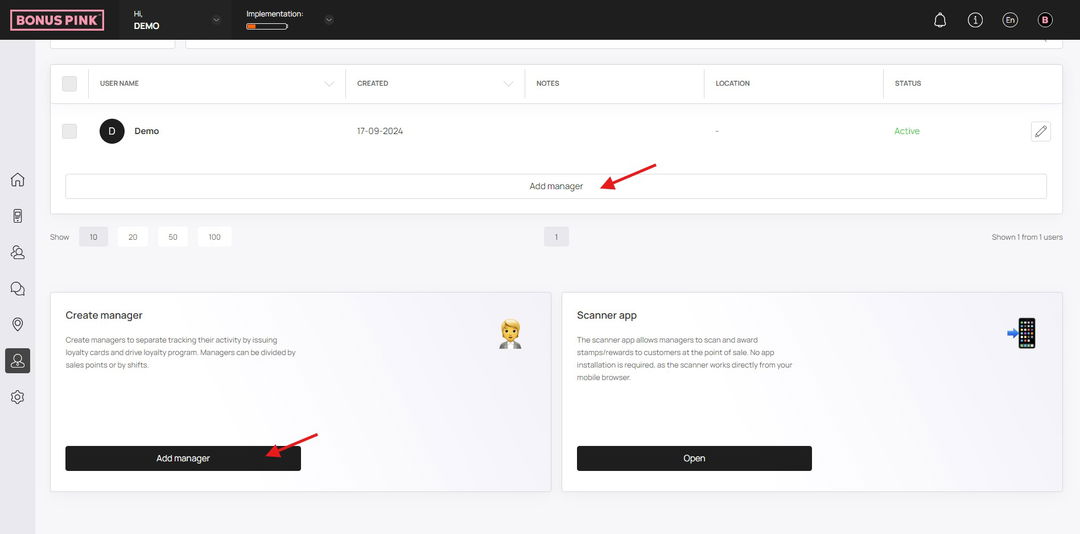
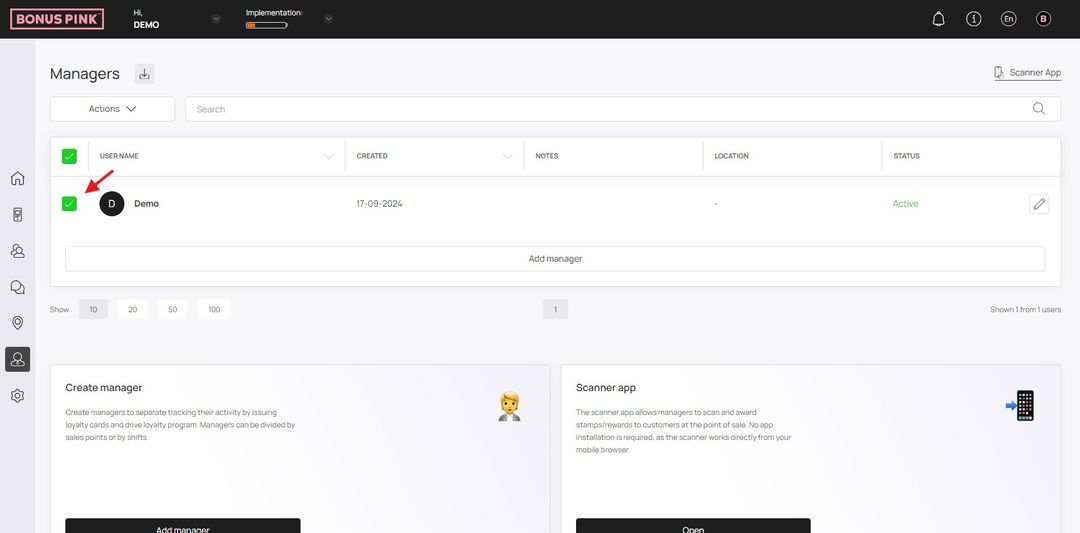
3. Here, information for all existing managers is tabulated via a number of columns that include User Name, Created, Notes, Location, and Status.
4. Clicking the username of a manager displays the details of the selected manager profile. Here, the basic details of the selected manager profile are displayed via separate tiles under the Manager Profile heading. They include Name, Registration Date, Status, Location, Number of Transactions, and Last Transaction Date.
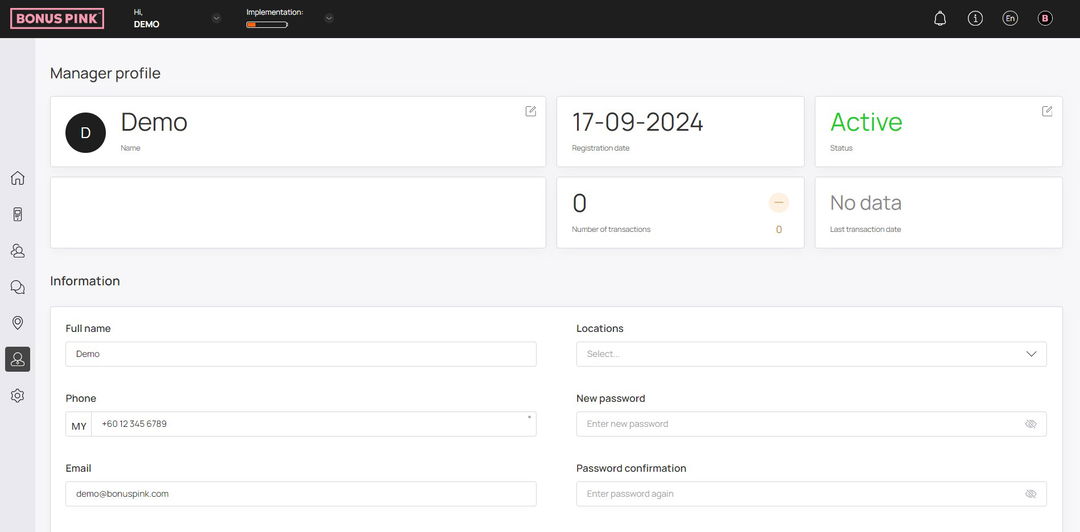
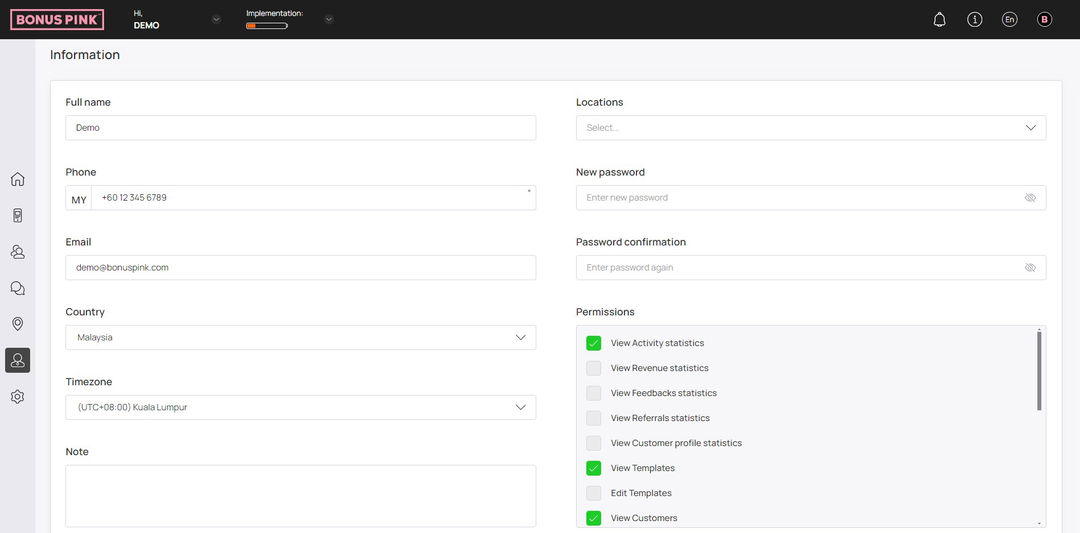
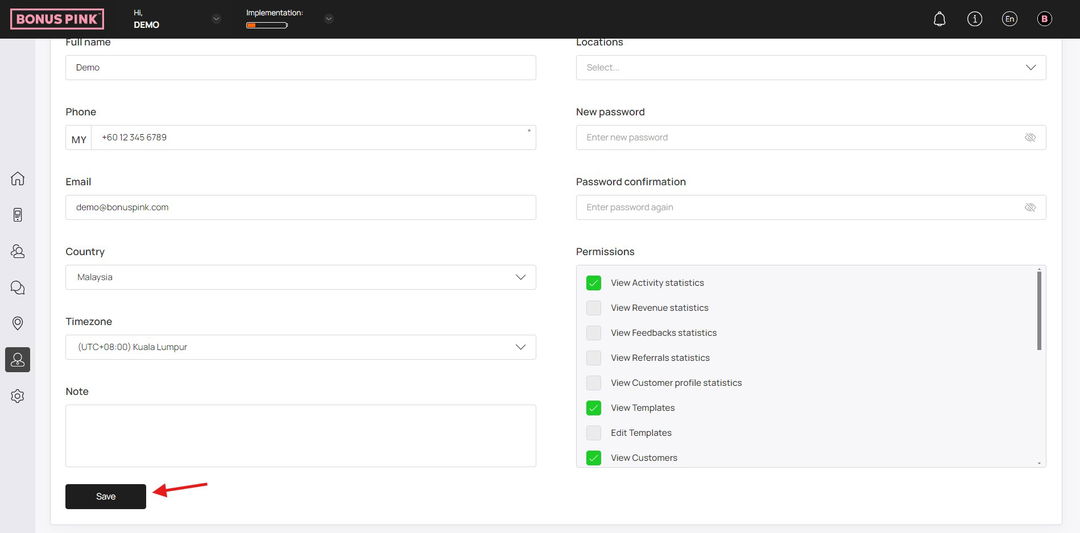
5. Next up is the Information section where the details of the manager account are displayed in editable view.
6. Once you have edited the required fields, click the Save button.
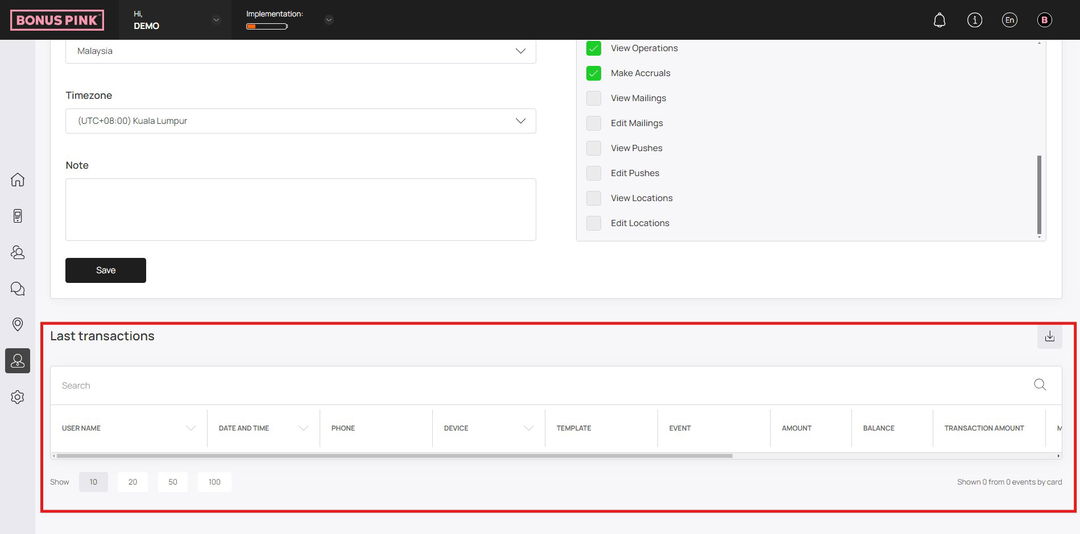
7. At the end is the Last Transactions grid. Here, the last transactions of the manager are tabulated via several columns that include User Name, Date, Phone, Device, Template, Event, Amount, and Balance.
8.To create a manager profile, click the Add Manager button from the bottom of the Managers grid or from the Create Manager tile.
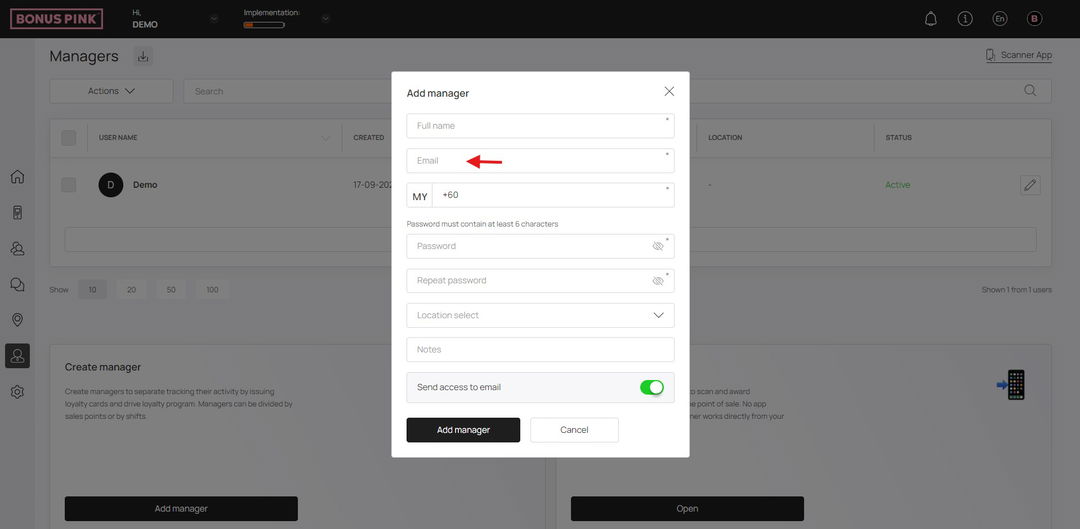
9. This opens the Add Manager popup for the details of the manager to be recorded. Here, enter the full name of the manager in the Full Name field.

10. Enter the email address of the manager in the Email field.
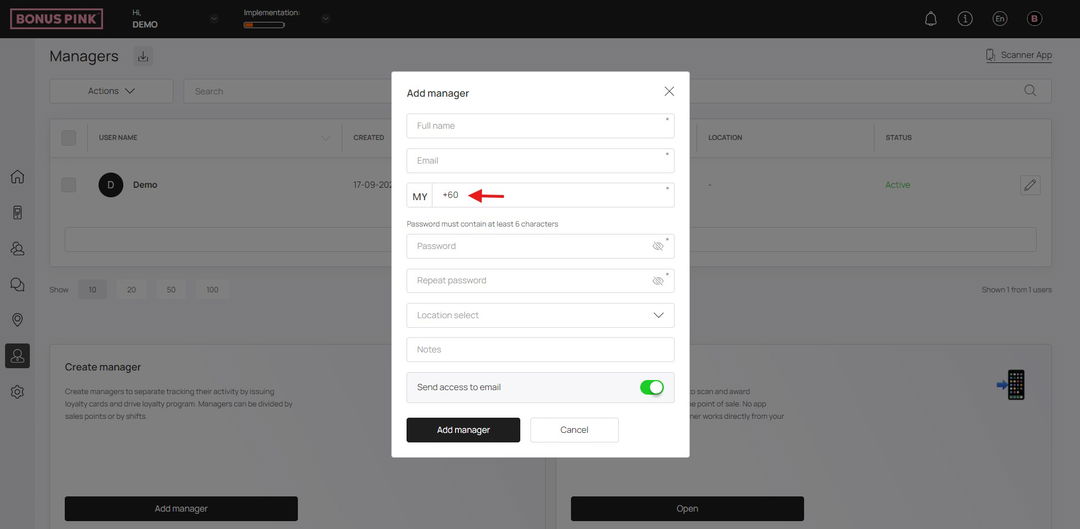
11. Use the Contact Number field to enter the contact number.
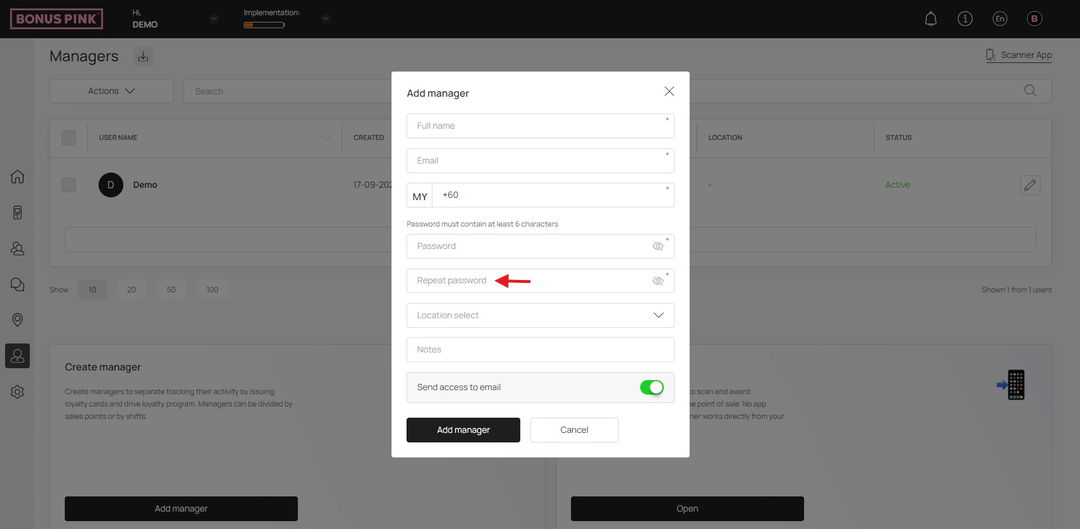
12. Create a password for the manager profile using the Password field.

13. For confirmation, re-enter the created password in the Repeat Password field.
14. Select the location for the manager profile using the Location dropdown. All created locations populate in this dropdown.

15. Record any additional instructions in the Notes field.
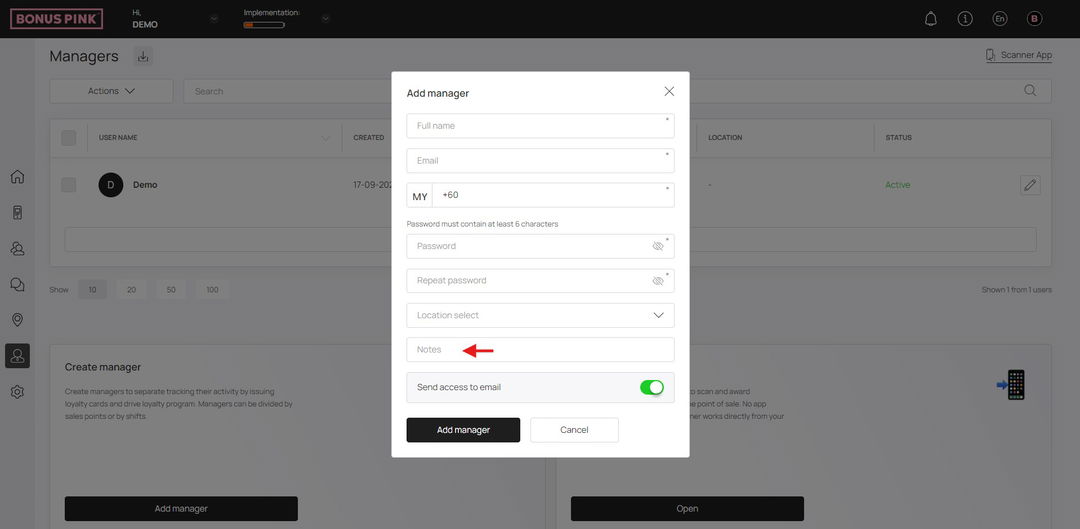
16. In case you do not want to send access invitation to the manager via email, disable the Send access to email toggle.
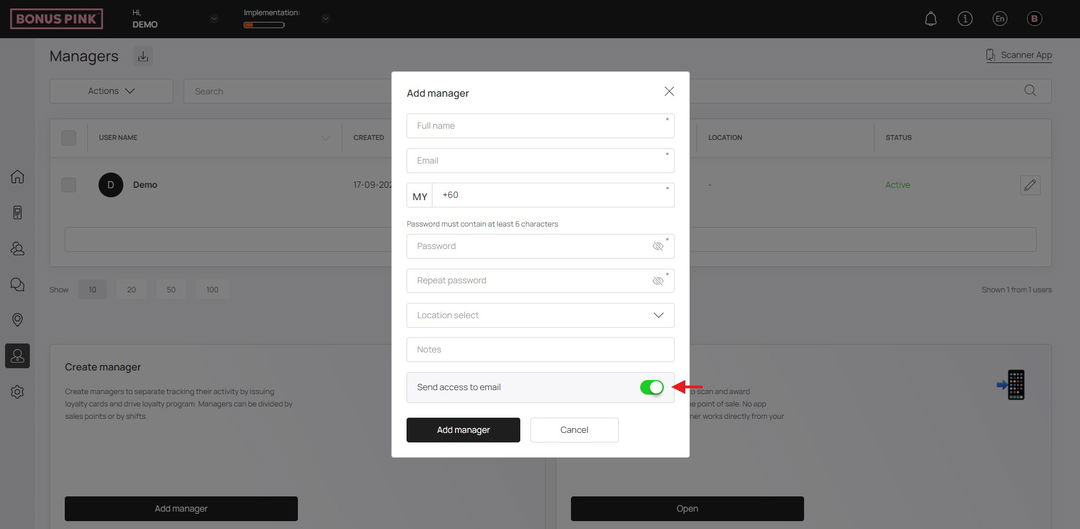
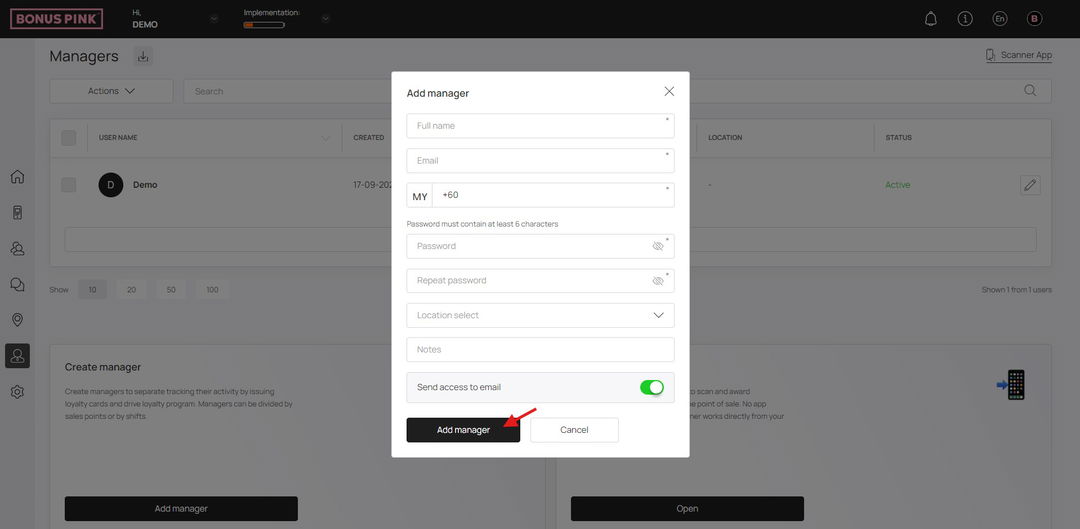
17. Once the details are recorded, click the button. This creates the manager profile and displays it in the Managers grid.
Edit Manager
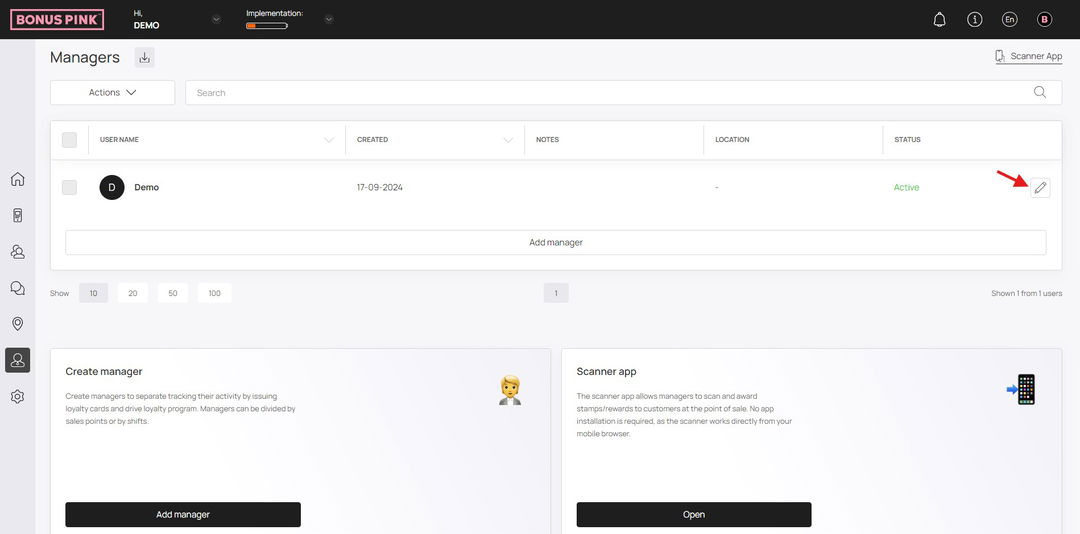
1. Upon landing on the Managers grid, click the pencil icon located at the end of the row for the manager whose profile you want to edit.
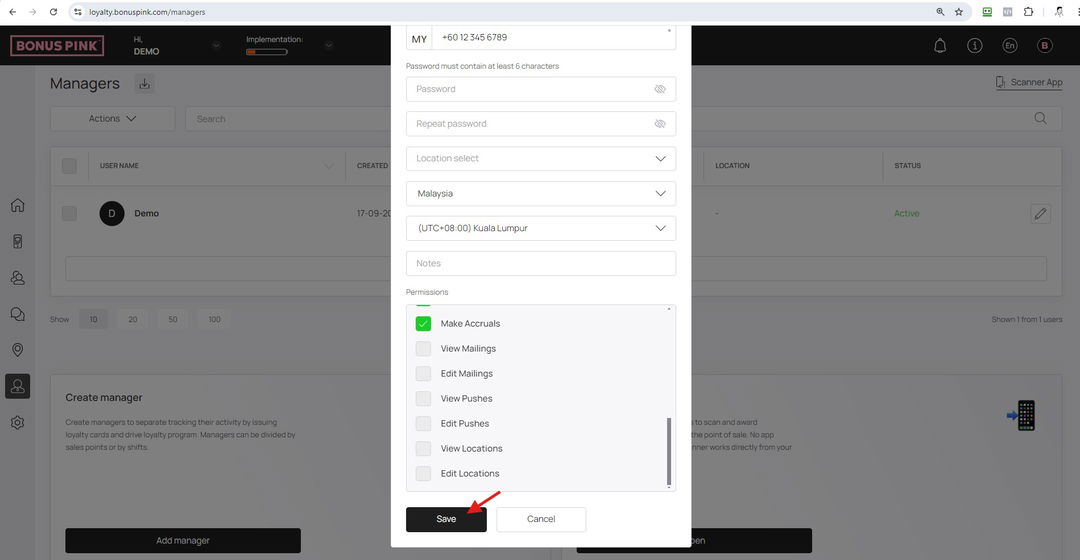
2. This opens the Edit Manager popup. Here, all the fields holding information are displayed in an editable view.
3. Once you have made the required changes, click the Save button. This saves the changes you made and closes the Edit Manager popup.
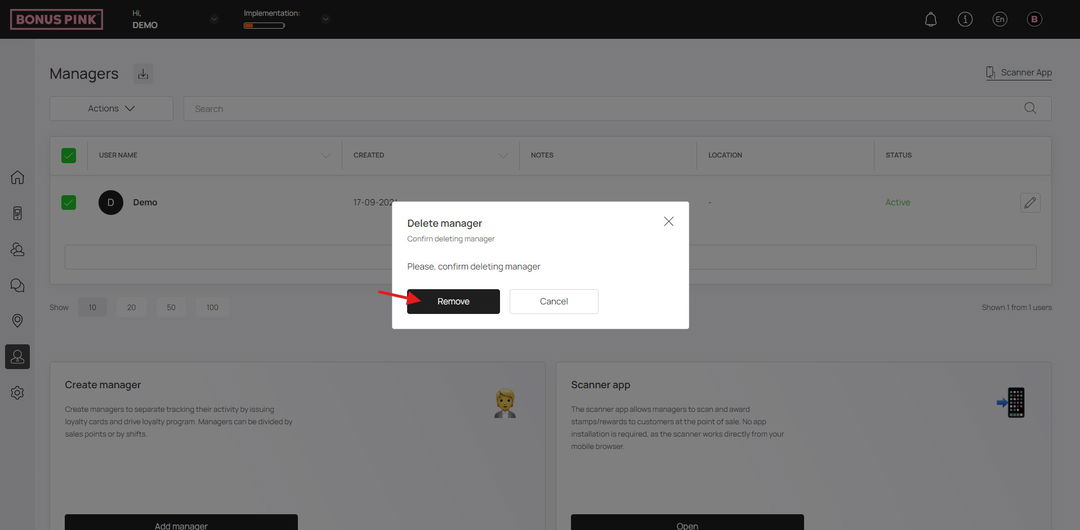
Delete Manager
1. Upon landing on the Managers grid, click the username of the manager whose profile you want to delete.
2. Click on the Actions dropdown, select the Delete Manager
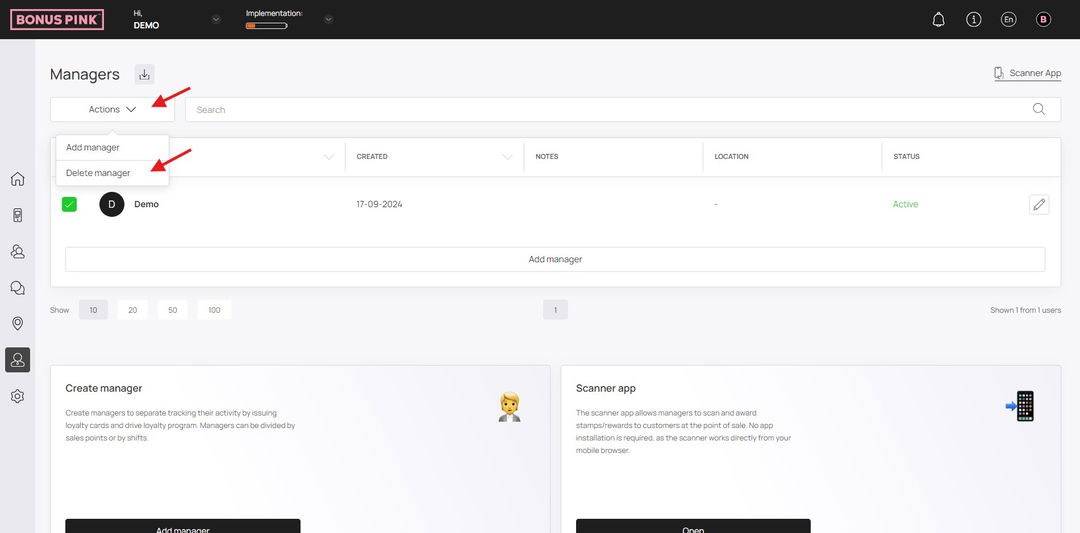
3. This opens the Delete Manager popup for you to confirm the delete action. To confirm, click the Remove button.